
How to make a memo board
Hello! I hope that your weekend was a good one and that you are staying warm and dry if living in the UK (we’ve had 2 storms these past 2 weekends now for international readers and lots of people are suffering with flooding in their homes and towns).
As many of you know, I love a good craft project. Admittedly I have less time to work on things now that I have two little ones and an interior design business, so I’m choosing simpler projects in front of the tv in the evenings at the moment. The DIY I’m sharing with you today is from a few years ago but as this memo board is still going strong (and being used in my home on a daily basis) I thought I’d re-share it with you.
It’s a simple make and a good one for beginners. Don’t worry if you don’t have access to a sewing machine as you can easily sew this by hand, or you could also use wonder web to join the seams together, meaning that you’d only need the web/bond and an iron. You can pick it up easily from most supermarkets now.
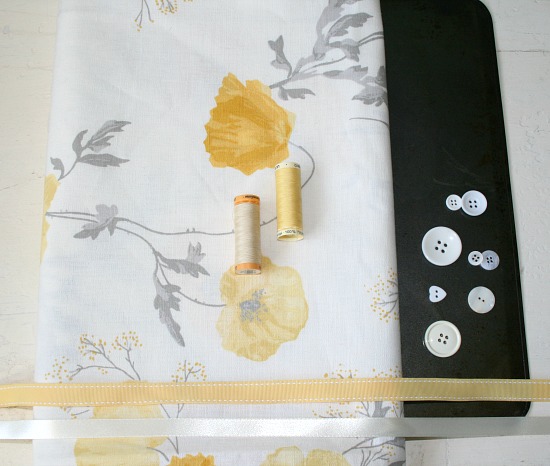
For the DIY, I used:
* A flat metal baking sheet
* Some spare material
* Thread
* Buttons and ribbon for decoration
* Small magnets and pegs for holding items you want to display
Step 1:
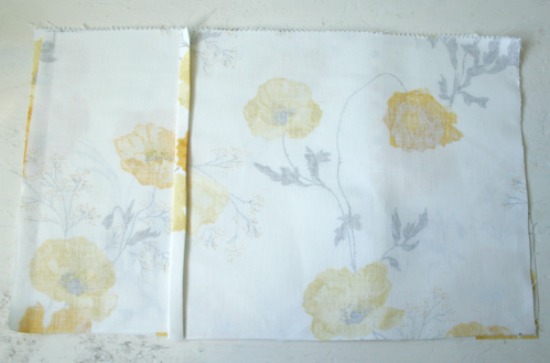
Measure the length and width of your tray and note down. Then cut the fabric so that you have enough to make an envelope style cushion cover. I watched this tutorial on You Tube to learn how to do this.
Iron your fabric and press a double hem along the sides of the top pieces of fabric. (The video tutorial show you how to do all of this very clearly).
Step 2:
Pin along each of the outside edges of your fabric to hold everything together and then sew into place. Once you have finished sewing, turn the fabric the right side out and press again with an iron to eliminate any wrinkles.

Step 3:
Insert the baking sheet into your fabric envelope. You will have a surplus of fabric sticking out of the top. Don’t worry, it is meant to be this way! Tuck the extra fabric over the top of the baking sheet and into the back of the fabric cover. This will enable you to ensure that the fabric is tucked in nice and tightly, which will mean that you won’t have baggy fabric at the front of your memo board.

Step 4:
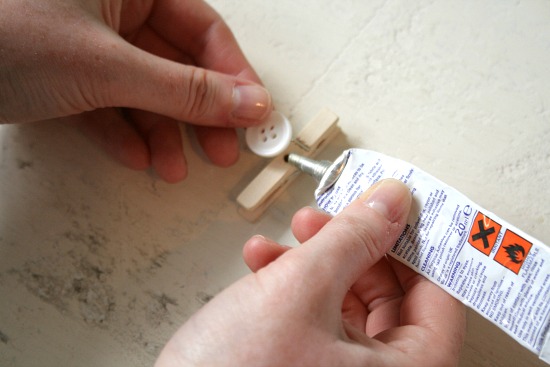
Glue some buttons onto the front of small pegs or magnets.Step 5: Place some ribbon about a third of the way down the memo board and tie it at the back in a bow. Attach the pegs to the ribbon. Next, stick a button to the back of a small magnet. As the board is magnetic you can stick the magnets anywhere. Make sure that the magnets you use are strong enough as they will need to be attracted to the baking sheet through the fabric. The fabric I used is suitable for making cushions and curtains, meaning it was quite thick, so I had to source some strong little magnets!
Finally, you will see that I also threaded a button with some ribbon and then hand sewed it into place at the top of the board. This means that I can hang my memo board up if I don’t want to have it leaning against the wall on top of my desk.

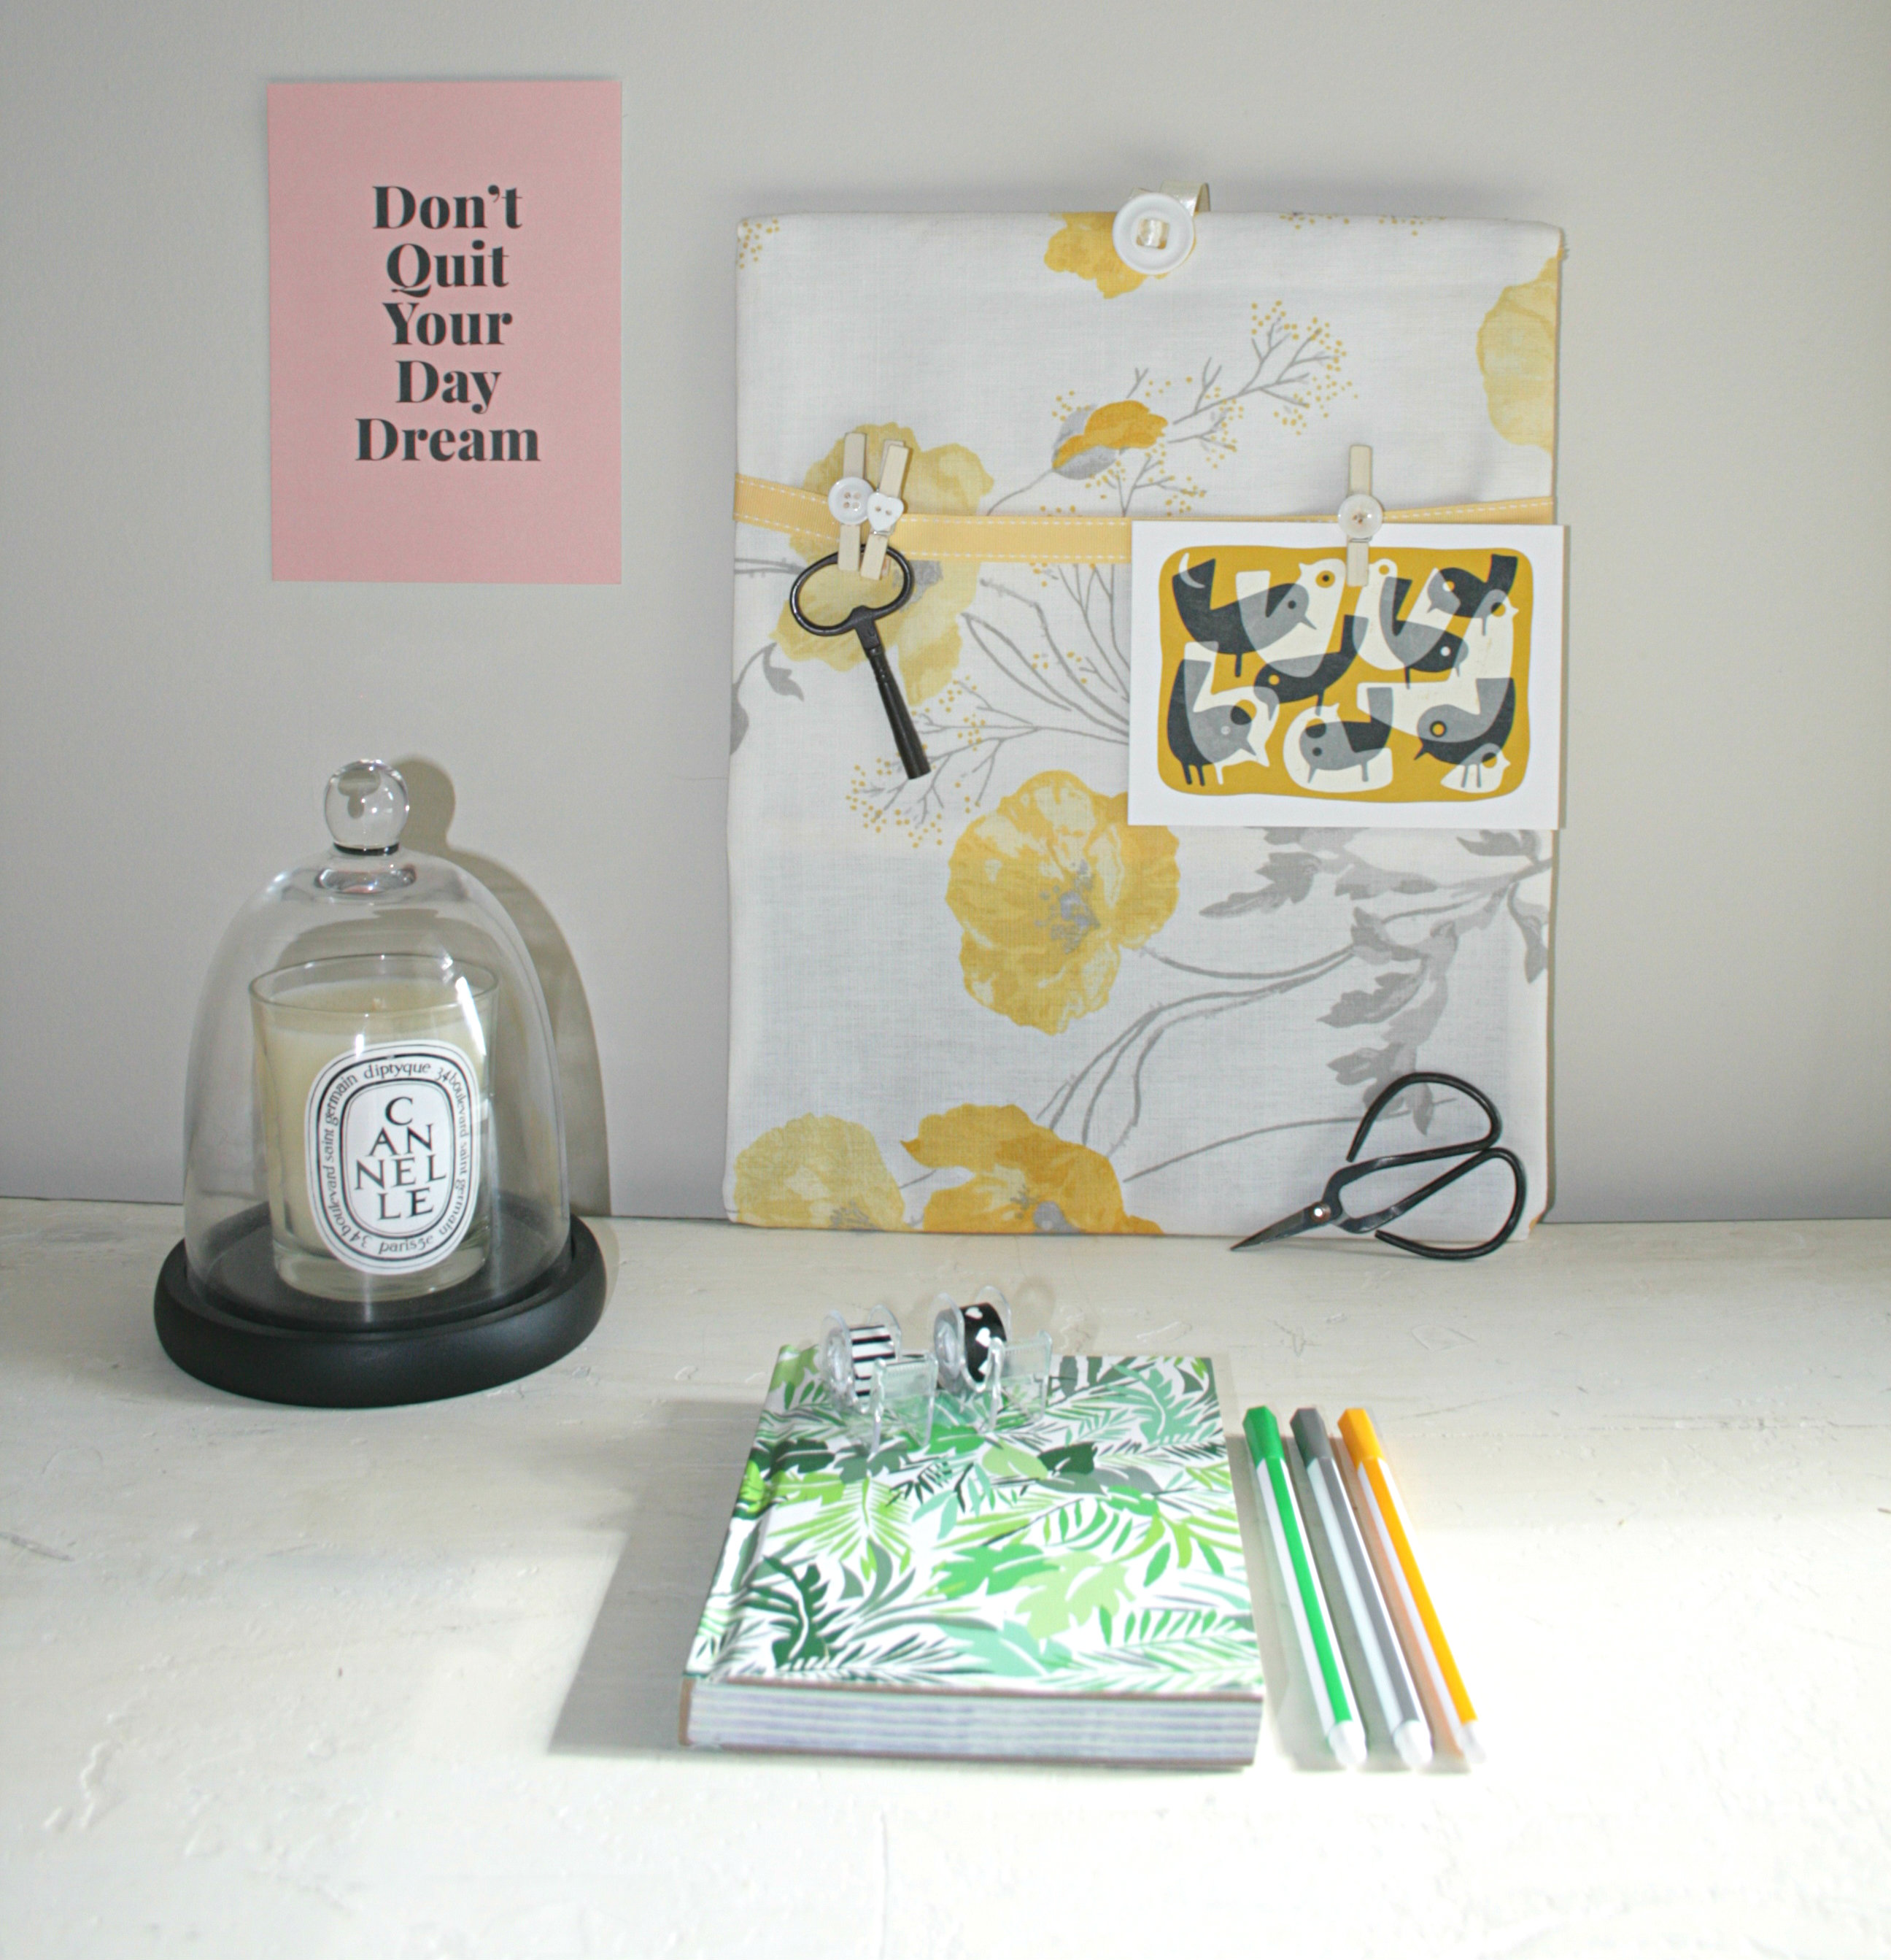
This was a very simple make and good for a beginner who is just starting out with a sewing machine (like me!) If you have any questions, please do leave a comment below and I’ll do my best to answer you. Similarly, don’t forget to share a picture either here on on social media if you give this a try. You can follow me by clicking on the social media icons above.
C.x
Images all my own

8 responses to “DIY Magnetic memo board”
[…] My most recent make is the magnetic memo board pictured above. I posted a tutorial for it here on the blog. My next project is a sock monkey for a friend’s new […]
[…] I’ve had the opportunity to work with them recently and use some of their fabric to create a magnetic memo board. It was my first press show and I felt very privileged to see the Autumn Winter homeware and fashion […]
[…] It’s fair to say that there’s a form of pride and excitement in the DIY craft that you can’t get from anywhere else. It feels good to have created something and made it from your own hands. You can focus your attention on little things that can go a long way. Quilts are accessible even to beginners, for instance. You can also easily sew a few cushion covers for the lounge. You can check out my sewing tutorials for bedroom cushions here and for a personalised memo board here. […]
[…] your desk, you want to ensure you are making your office a personal space for you. I have a diymagnetic pin board that I made a few years ago on my desk. You can see the tutorial for it here if you’d like to […]
This looks lovely! I would have not thought of using fabric for this. Hm…I’m going to receive a rustic desk soon, so I’ll be considering this. It could make a lovely surface to create mood boards for new creative projects…lots of creative inspiration I’ve been seeing online today. Thanks for the tutorial!
Hi Alex, glad you like the tutorial and thank you for your kind comments. Leave me a link to your social media/site when you’ve done the desk/mood boards as it’ll be great to take a look. Claire.x
I will Claire!
[…] you have a spare afternoon and are looking for a simple craft project, why not give my magnetic memo board a try? It’s very simple to do and you could easily iron on wonder web to join the seams of […]